


SMA Connector Installation & Removal Guide | Step-by-Step Instructions, Tools & Common Mistakes
SMA Connector Installation & Removal Guide | Step-by-Step Instructions, Tools & Common Mistakes
How to Install SMA Connectors Correctly to Ensure Signal Integrity
SMA (SubMiniature version A) connectors are widely used RF connectors for wireless communication, testing equipment, and satellite modules. Proper installation and removal directly impact signal quality, equipment lifespan, and system safety. This guide walks you through step-by-step SMA connector installation and removal procedures while helping you avoid common errors.
Preparation: Key Items Before You Start
1. Required Tools
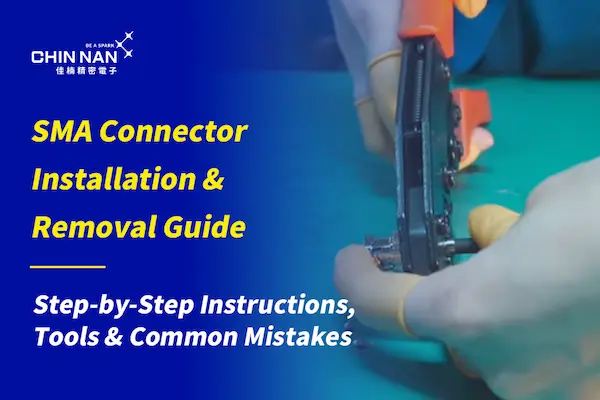
- 5/16 inch or 8mm SMA torque wrench
- Crimping tool or soldering iron (depending on connector type)
- Wire stripper, heat shrink tubing
- Test instruments (e.g., VNA—Vector Network Analyzer)
2. Materials Checklist
- SMA male or female connectors
- Compatible coaxial cable (e.g., RG-316, RG-402)
3. Work Environment Tips:
- Keep connectors and cables clean from dust and grease to ensure optimal contact.
Installation Steps: How to Assemble SMA Connectors Correctly
1. Strip the Cable Properly
Follow the strip length shown in the connector's datasheet. Use a stripper to carefully remove the outer jacket without damaging the conductor. A common strip length for the center conductor is around 2–3 mm to ensure proper fit and performance.
2. Insert Connector Components in Sequence
Refer to the connector's datasheet to assemble components in this typical order:
- Back nut
- Washer or crimp sleeve
- Dielectric and center pin
⚠️ Note: Ensure the center conductor is fully seated in the contact pin, aligned precisely, and inserted to the correct depth. Misalignment can cause short circuits or poor signal performance. Methods may vary depending on crimp or solder types—always follow the manufacturer’s guide.
3. Crimp or Solder for Secure Attachment
- Crimp Type: Use crimping tools to secure both center and outer conductors.
- Solder Type: Use low-temp solder and ensure the joint is clean with no excessive residue.
4. Final Checks & Testing
- Test return loss and insertion loss using a VNA.
- Ensure threaded coupling is tight to prevent signal drop or connection faults.
- Use a multimeter to check continuity and confirm no shorts between conductor and shield.
Safe Removal of SMA Connectors
1. Use the Right Tool
Avoid using pliers or bare hands. Use an 8mm SMA torque wrench to avoid damaging the connector.
2. Proper Disassembly Steps
- Gently rotate the connector counterclockwise until released.
- Use two wrenches if needed—one to hold the female connector, the other to loosen the male.
- Avoid touching the mating ends after removal.
3. Clean & Protect After Removal
- Clean mating surfaces with alcohol and lint-free cloth.
- Use dust caps and store in a dry area to prevent oxidation.
Common Mistakes & How to Avoid Them
| Mistake | Consequence |
|---|---|
| Over-tightening | Damaged threads, deformed dielectric, increased return loss |
| Wrong tools | Shell deformation, misalignment of contacts |
| No testing before installation | Risk of poor signal or system instability |
| No dust protection in storage | Signal degradation due to contamination |
FAQ: Questions You May Have About SMA Installation
Q1: Why is my signal unstable after installation?
A: Possible causes include poor alignment, loose threads, or incorrect strip length.
Q2: How to distinguish crimp vs. solder types?
A: Crimp types use metal sleeves and crimping tools; solder types require soldering the center pin.
Q3: Are SMA connectors reusable?
A: Limited reuse is possible depending on frequency of use and handling. Avoid frequent re-plugging to maintain performance.
Q4: Is a VNA mandatory before installation?
A: For 5G or high-frequency systems, a VNA is highly recommended to verify signal loss and match.
Related Articles
How to Select the Right SMA Connector? 7 Key Factors You Must Know
Unlock Full Performance from Your SMA Connectors
Every step—from prepping tools and stripping cables, to post-removal care—directly affects performance and reliability. Avoiding common mistakes and using the correct method and tools can significantly reduce downtime and replacement costs.
Need technical support or SMA connectors for high-frequency projects?
Contact CHINNAN support: service@chinnan.com.tw
Start by choosing the right SMA connector → Explore Products


